If your skin has felt tight after cleansing, stings when you put products on, or breaks out one week and flakes the next, the cause may be the number of products you are using, not any single one. A 7 day skincare reset takes the guesswork out of that. For one week you use only a cleanser, a moisturizer and sunscreen. Then you bring back a single active ingredient, and you watch what your skin does with it.
You do not need to buy anything. The plan works with what is already in your bathroom, and each day has a short checklist so you can follow along without rereading the whole article.
Is a skincare reset right for you right now?
A reset suits skin that looks or feels worse than its routine should explain. These are the common signs:
- Stinging or burning when you apply products that used to feel fine
- Tightness or flaking, even though you moisturize
- Breakouts that move around and have no clear pattern
- Redness that comes and goes
- A tired, dull look, including around the eyes
- A routine with five or more steps that you can no longer explain step by step
It is also helpful if you have been adding products for months without ever removing one. When several products change at once, you cannot tell which one helps and which one irritates. A reset gives you a clean baseline to compare against.
When to see a dermatologist instead
A reset is a gentle habit change, not a treatment. Check in with a dermatologist or your doctor first, or alongside the reset, if you have any of the following:
- A rash that is spreading, swollen, blistering or very itchy
- Painful, deep or scarring breakouts
- Patches of scaly, rough or bleeding skin that do not heal
- A mole or spot that has changed in size, shape or color
- A diagnosed condition such as eczema, rosacea or psoriasis
- A prescription retinoid, acne medication or other treatment from a doctor. Ask the prescriber before pausing it, because stopping on your own may not be what they want.
- Pregnancy or breastfeeding, if you plan to bring back an active at the end of the week
If none of that applies, you can start whenever you like. Pick a week without travel, big events or a heavy schedule, because you will want to look at your skin in the same light each day.
Day 1: Lay everything out and set aside what you don’t need this week
Today you change nothing on your face except what you were already doing in the morning and evening. The work is a sorting job.
Take every skincare product out of your drawers, shelves and bag, and put them on a table. Many people find more than they expected: serums bought on a whim, three different moisturizers, a mask used once. Seeing it all together makes the next decision simpler.
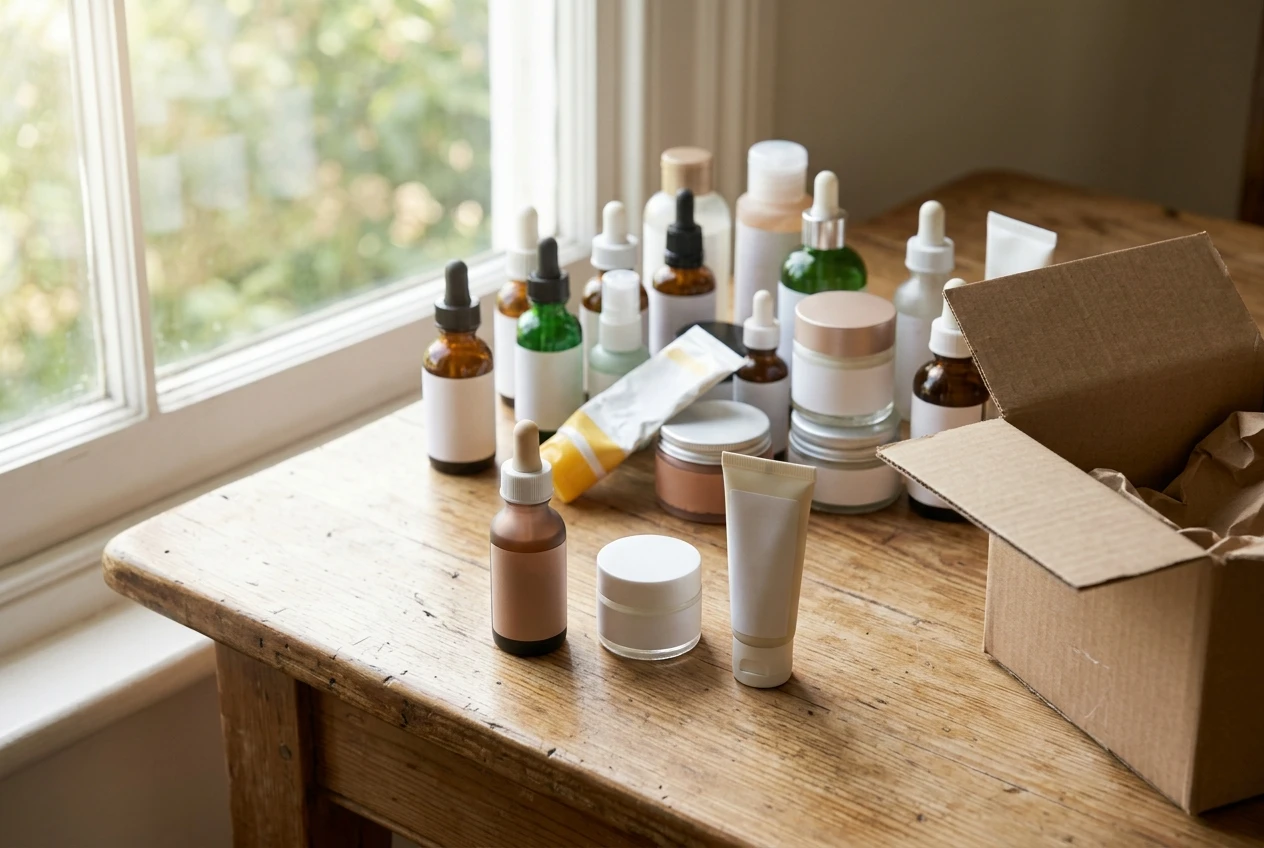
Then sort the products into two groups:
- Keep for the week: one gentle cleanser, one plain moisturizer and one sunscreen you are willing to wear daily.
- Set aside for now: everything else, including serums, exfoliating acids, scrubs, toners, peels, masks, retinol, vitamin C, and any eye cream or spot treatment.
Put the second group in a box or a bag and put it out of sight. Nothing is being thrown away. You are only pausing these products so you can see your skin without them.
If you are unsure which cleanser to keep, choose the one that leaves your skin feeling comfortable afterward, not squeaky clean. A cleanser that makes your face feel tight is taking more oil away than your skin wants to lose. The guide to gentle cleansers for sensitive, breakout-prone skin explains what to look for on the label if none of yours feel right.
Take a photo of your bare face in daylight near a window, without makeup. You will compare it with a second photo on Day 7, and day-to-day changes are hard to notice without something to compare against.
Day 1 checklist
- Gather every product in one place
- Choose your cleanser, moisturizer and sunscreen
- Box up everything else
- Take a bare-face photo in daylight
- Write one line in your notes about how your skin feels today (tight, oily, itchy, dull, fine)
Days 2 and 3: Just a gentle cleanser, a moisturizer and sunscreen
These two days are the quietest part of the week, and they may feel too simple. That simplicity is intentional. With only three products on your face, anything that changes is easier to understand.
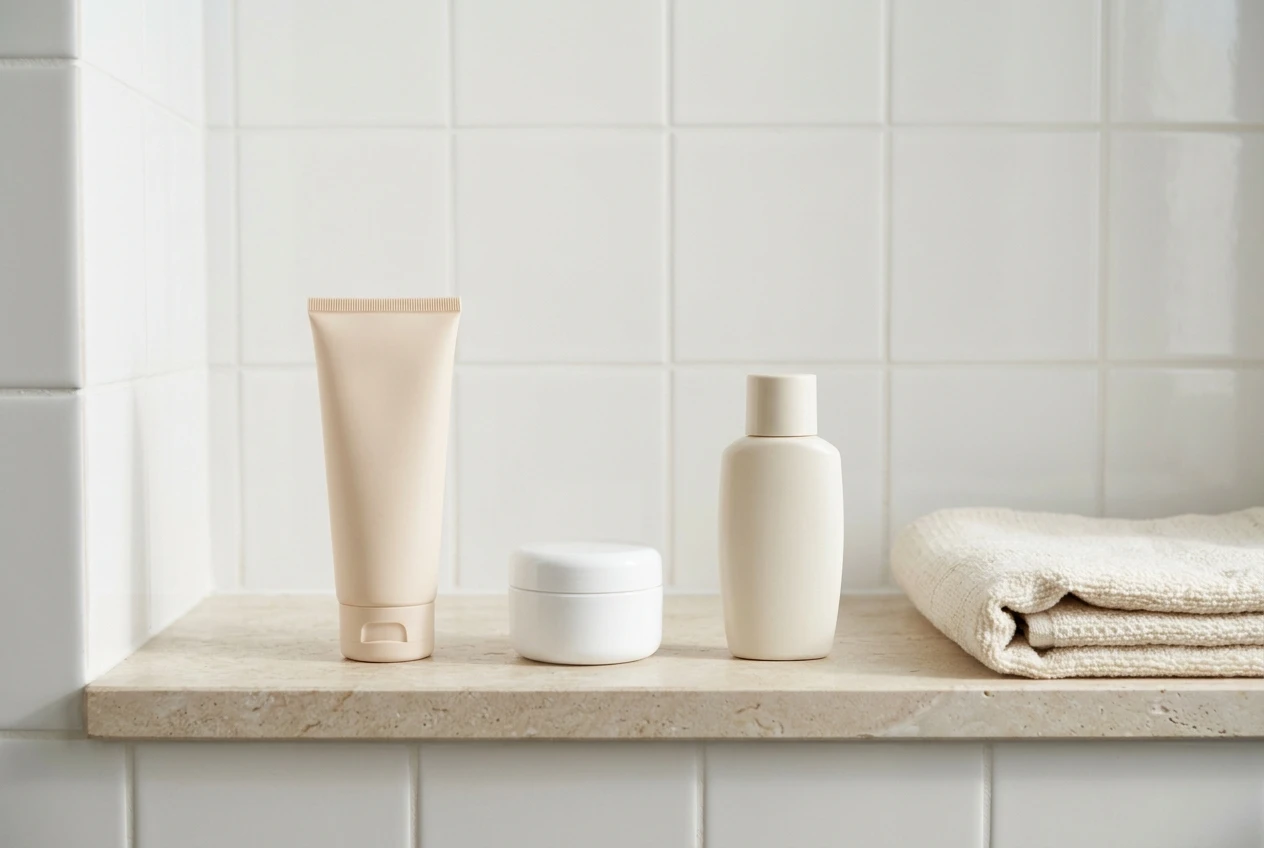
Morning
- Rinse with lukewarm water, or use a small amount of your gentle cleanser if your skin feels oily or dirty from sleep.
- Pat on moisturizer while your skin is still slightly damp.
- Finish with sunscreen on your face and neck, and on the backs of your hands if you tend to forget them.
Evening
- Cleanse once, gently, with your fingertips. Rinse with lukewarm water, since hot water can leave skin tight and red.
- Pat dry with a clean towel. Press, do not rub.
- Apply your moisturizer.
If you wear makeup or sunscreen all day, cleansing once thoroughly in the evening is enough. Double cleansing is not required for every skin, and scrubbing to feel clean is how many irritated skins stay irritated.
Sunscreen without the breakout worry
Many women with breakout-prone skin skip sunscreen because they think it causes the spots. Sometimes a particular formula does, but that is a reason to choose a different one, not to go without. Daily sun exposure can darken marks left by breakouts and age skin faster, so sunscreen is worth keeping in your week. If your current one feels heavy, the article on why sunscreen doesn’t have to make you break out covers what to check for in a formula.
What you may notice
Some people feel calmer by Day 3. Others see a bit more dryness or a small flare while the skin adjusts, and that can happen too. Note what you see without judging it. If you feel real burning, swelling or hives, stop the product you suspect and talk to a healthcare professional.
Days 2 and 3 checklist
- Morning: cleanse or rinse, moisturizer, sunscreen
- Evening: gentle cleanse, moisturizer
- No extra products, no exfoliating, no new things
- Drink water and keep your usual meals, so you are not changing too many variables at once
- Add one line to your notes each evening: tight, comfortable, itchy, oily, or something else
Day 4: A kind check-in for the eye area, dark circles and crow’s feet
The skin around your eyes is thinner than the skin on the rest of your face, which is partly why it shows tiredness and reacts to products so readily. Day 4 is a check-in, not a treatment day. You keep the same three products, and you look at this area a little more closely.
Puffiness or under-eye bags are a different issue from dark circles. A cream can help a little with temporary puffiness, but bags caused by fat pads won’t respond to one, so don’t spend money chasing that.
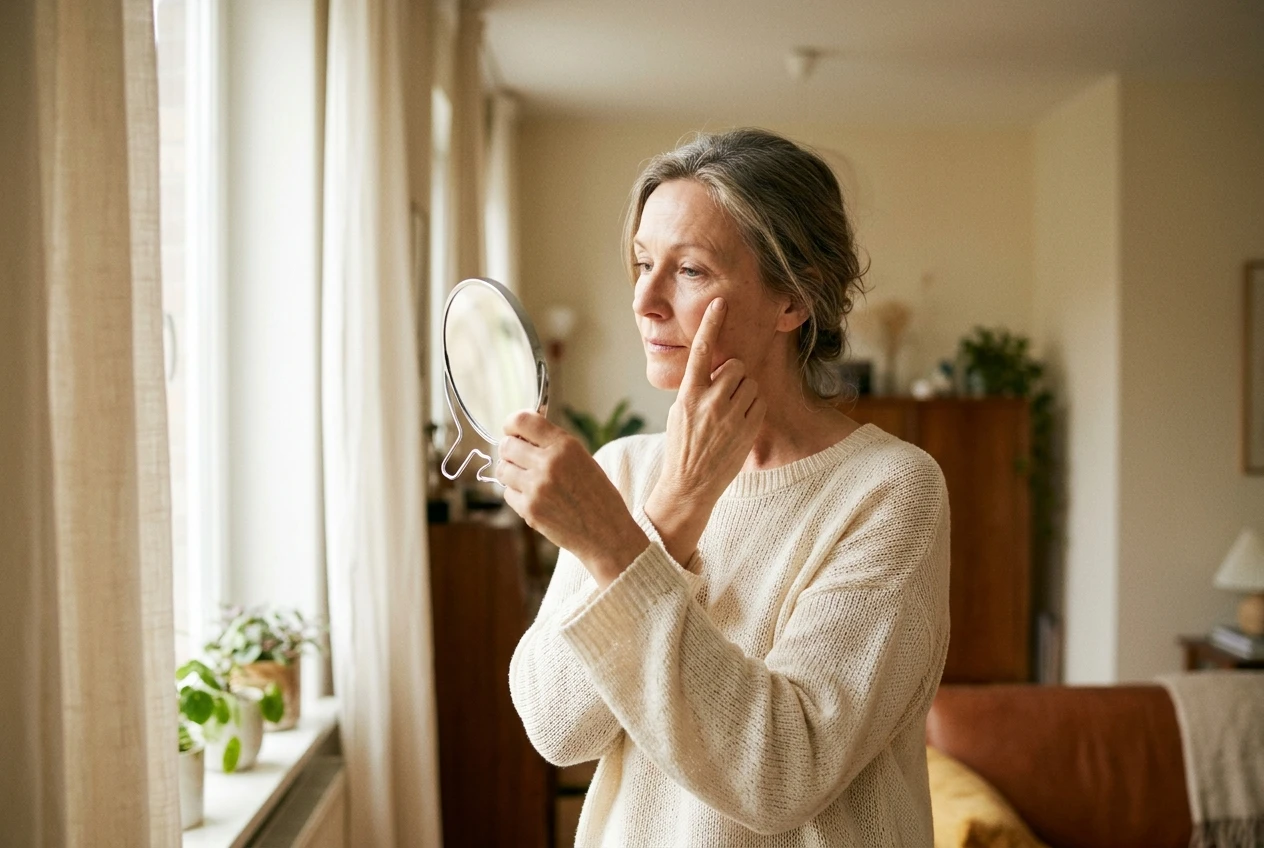
Stand near a window and look at your under-eyes and the corners of your eyes. Ask yourself a few questions:
- Is the darkness blue or purple, brown, or just a shadow that changes with the angle of the light? Smooth the skin gently with a fingertip. If the color stays the same, it may be pigment. If it shifts, it may be a hollow or a shadow.
- Are the lines at the outer corners deeper when you squint, smile, or look at a screen?
- Is the skin dry or flaky, or are the eyes red or itchy? Those can point to irritation or allergies, and a product may be involved.
Dark circles come from several different causes, including genetics, thin skin, pigmentation, puffiness and tiredness, and each responds to a different approach. That is why there is no single fix. The guide to the best ingredients for dark circles under eyes, by cause can help you sort out which type you have, once the reset is over.
Do you need a separate eye cream?
Today, no. Use your regular moisturizer around the eyes, as long as it does not sting. If it does, check whether the product is meant for the face only, or whether it has fragrance or other ingredients you suspect. The article on whether you really need an eye cream or if your face cream will do goes through when a separate product is worth adding.
Two small habits help the eye area during the reset and cost nothing:
- Apply sunscreen right up to the orbital bone, and wear sunglasses to reduce squinting in bright light.
- Dab moisturizer on with your ring finger, using a light touch, instead of dragging or rubbing.
Day 4 checklist
- Same routine as Days 2 and 3
- Look at your eye area in daylight and note what you see
- Write down whether your eyes sting with any of the three products
- Wear sunglasses outdoors
- Leave eye creams and treatments in the box
Days 5 and 6: Bring back one active, slowly
By now your skin has had four days of simplicity. Today you can reintroduce one product from the box. Choose the one you most want to test, not the one you were using most recently.
Choose from the products you set aside, for example a retinol, a vitamin C serum, a niacinamide serum, an exfoliating acid or an azelaic acid product. Pick only one. If you are not sure which, think about the concern that bothers you most:
- Fine lines and texture: a retinol or a gentler alternative
- Dullness or uneven tone: vitamin C, niacinamide or azelaic acid
- Rough texture or clogged pores: a gentle exfoliating acid
If your skin was reactive before the reset, retinol and strong acids are the likeliest to cause trouble, so they are not the best choice to test first. The article on retinol alternatives for sensitive skin lists options for skin that cannot tolerate the real thing. If you want a retinol product, see our list of best retinol serums for mature sensitive skin when you are ready to buy.
Day 5: Patch test
Apply a small amount of the active to one small area, such as the side of your neck or just below your jawline, in the evening after cleansing. Leave it overnight and look at the area the next morning. If you see redness, itching, swelling, burning or bumps, wash it off, do not use the product on your face, and note the reaction. Those signs mean this product is not right for you at the moment.
Keep the rest of your face on the three-product routine.
Day 6: Use it on your face, once
If the patch spot looks normal, use the active on your whole face this evening, but only a thin layer. Apply it after cleansing and before moisturizer. Do not combine it with another new product.
If you use a serum or two later in the routine, the guide on how to layer serums on mature skin without irritation covers order and spacing.
Then check your skin the next morning. If it feels comfortable, that is a good sign. If it is tight, stinging or red, skip the active, return to your three products and give your skin a few days.
Note that one evening cannot tell you whether an active works. Skin changes from retinoids, acids and brightening products take weeks, not days. What a first use can tell you is whether the product irritates you.
Days 5 and 6 checklist
- Choose one active, only one
- Day 5: patch test on a small area in the evening
- Day 5 morning and Day 6 morning: cleanse, moisturizer, sunscreen
- Day 6 evening: a thin layer on the full face if the patch looked fine
- Write down how the skin looks and feels each morning
Day 7: Write down what your skin told you and keep your favorites
Today you take stock. Take another bare-face photo in the same spot, in the same light as Day 1. Put the two photos side by side with your daily notes.
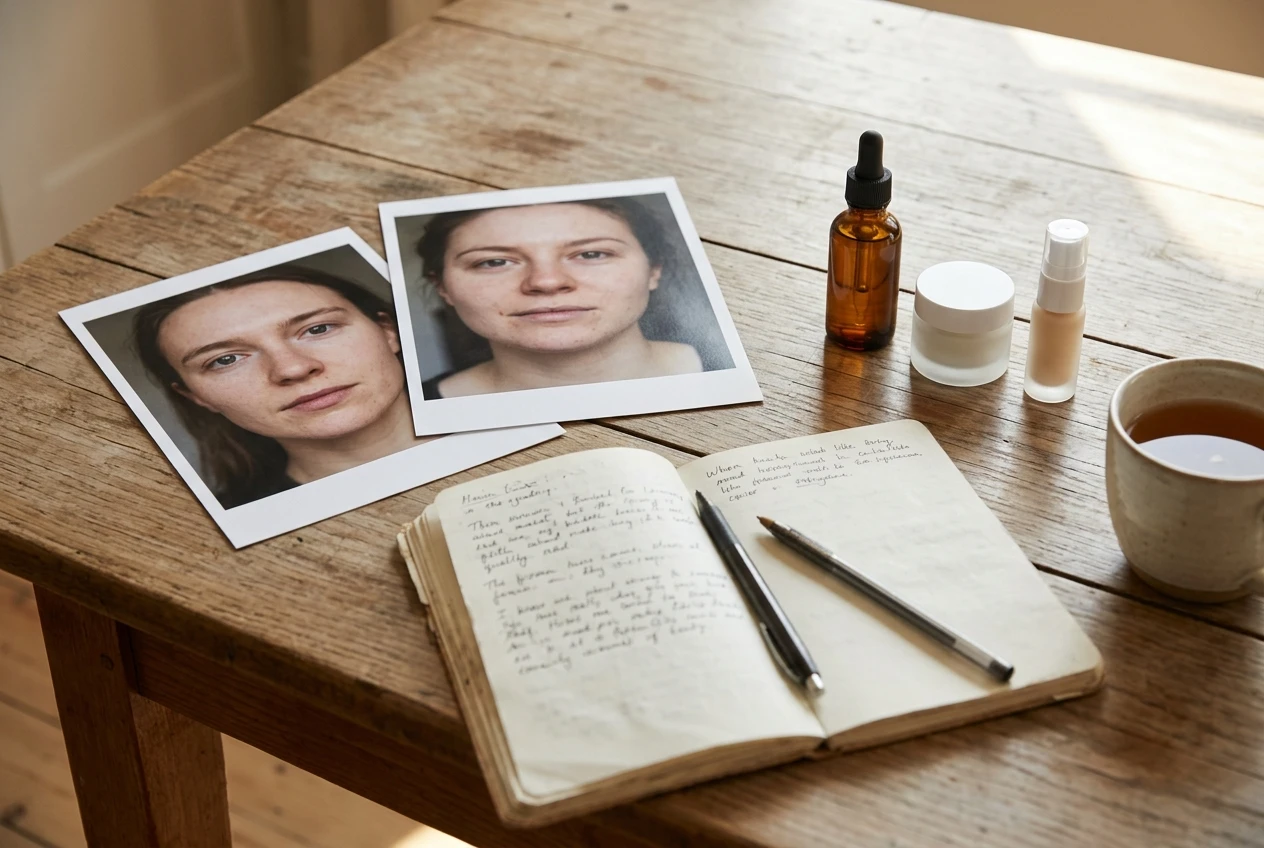
Then ask yourself a few plain questions:
- Did your skin feel more comfortable on the simple routine?
- Were there fewer breakouts, less stinging, or less tightness?
- Did the one active cause any reaction, even a mild one?
- Which of the three basics did you like using, and which did you not?
- Which products from the box did you miss, and which did you forget about?
Write the answers in a notes page. Next to each of your three products, note what it does for your skin: soothes, hydrates, feels heavy, leaves a film, stings. The notes turn a feeling into a record you can use the next time you shop or when you are tempted by a promising new serum.
Keep, retire or retest
Sort the products in your box into three piles:
- Keep: the three basics that work for you, and any active that passed its test.
- Retire: products you did not miss, that never seemed to do anything, or that have expired.
- Retest later: products you want to try again, one at a time, with about a week or two between each.
Adding products one by one takes patience, but it is the only way to find out which product caused which change. For a fuller look at why a smaller routine helps sensitive skin, read why sensitive skin doesn’t need more products, it needs a calmer routine.
Day 7 checklist
- Take your second bare-face photo
- Compare it with Day 1
- Review your notes from all seven days
- Sort the box into keep, retire and retest
- Choose which product you will retest next, and when
If your skin still isn’t happy after the week
Seven days is a short time, and some skin takes longer to settle. Several things can explain a skin that is still unhappy:
- One of your three basics may be the cause. Fragrance, essential oils and certain preservatives can bother some skin. If one of the three products stings or breaks you out, try a different one and repeat the quiet days.
- The cause may not be skincare. Stress, hormonal changes, new medication, poor sleep and diet can all show up on the face. The article on what you eat and hormonal breakouts looks at one of those links.
- You may need a longer quiet period. If your skin was irritated for a long time, it can take more than a week to feel normal. You can extend the three-product routine for another week before adding anything.
- You may have a skin condition that needs treatment. Persistent redness, burning, scaling, or breakouts that hurt are good reasons to see a dermatologist. Bring your notes and photos. They give the doctor a clear picture of what you used and how your skin reacted.
A reset does not have to fix everything to be worth doing. If you finish the week knowing which products your skin tolerates, which ones it does not, and what to try next, you have information you did not have before.
Get the printable checklist
If you would like to follow the week on paper, join the email list and you will receive the printable 7 day skincare reset checklist. It has a daily tick-box page and a notes space where you can write down what each product does for your skin, so you can keep your results from the week and use them for your next decision.